

My First Month Learning How to Make Soy Candles
Some of the links in this post are affiliate links — which just means I may earn a small commission if you grab something through them (at no extra cost to you).
I only share things I’ve actually tried while figuring this out myself.
(What I Learned as a Beginner)
I decided this year I wanted to learn a new craft each month.
Not to master it.
Not to be perfect at it.
Just to try it.
February was candle making and I quickly realized… making one good candle is a lot more involved than I expected.
This post is everything I learned during my first month, (the mistakes, the wins, and what I’d do differently if I were starting over).
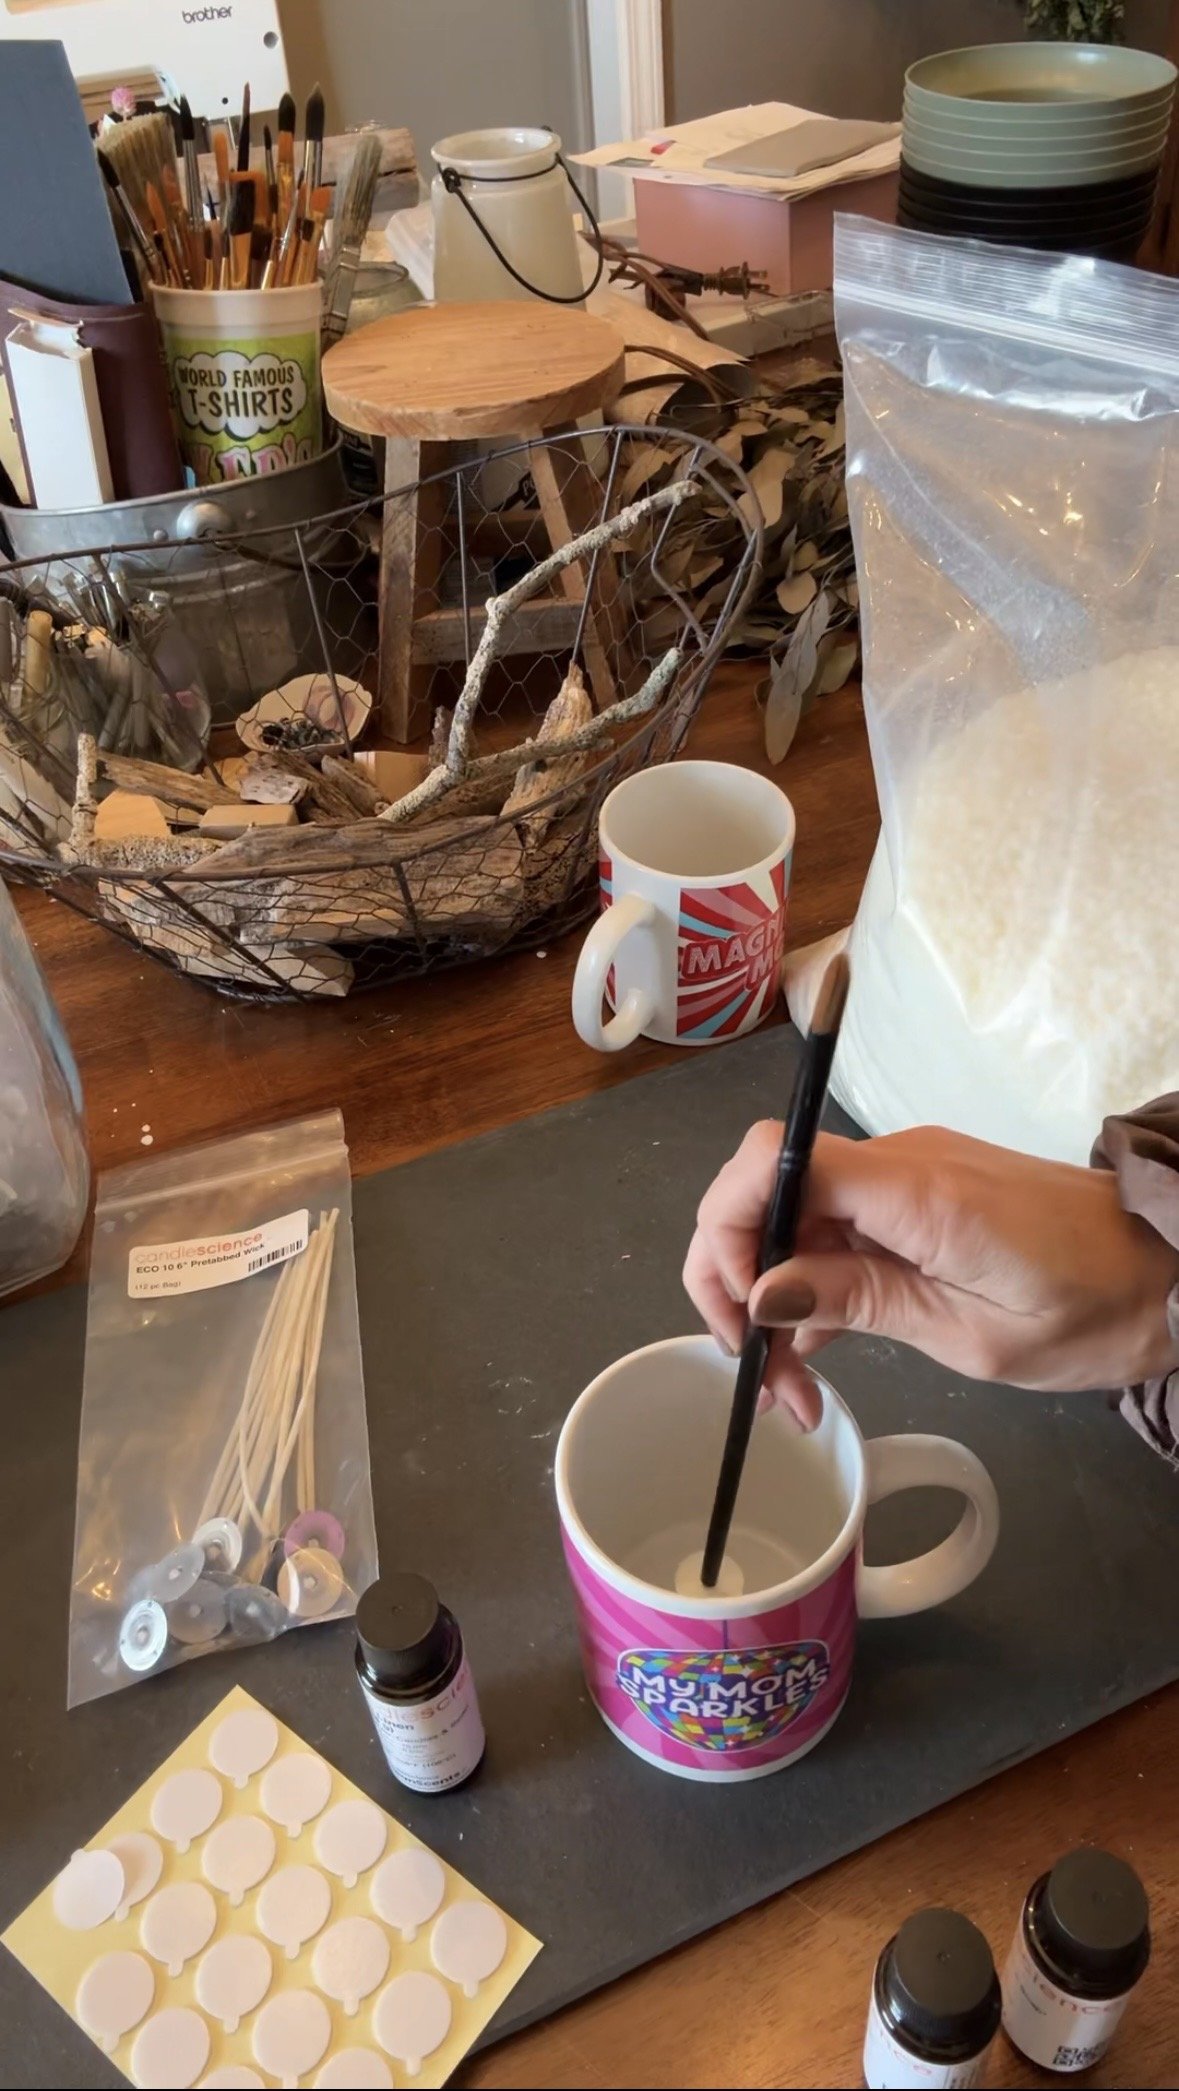
Week 1: Buying Supplies (and Guessing My Way Through It)
I started by gathering what I thought I needed to make candles.
Wax, fragrance oils, jars, wicks… and probably more scent samples than necessary.
Some of them smelled amazing.
Some of them… needed a little imagination 😅
At this point, I wasn’t trying to do anything complicated.
I just wanted to see if I could make one candle from start to finish.
What I learned this week:
Start simple.
You don’t need 10 scents or advanced techniques, just start with ONE simple scent and master the basics.
Week 2: My First Candle (Mistakes Included)
I made my first candle…
And immediately learned a few things:
I didn’t fill it all the way
I got a huge sinkhole in the middle (whoops)
My wick wasn’t perfectly centered
Cue emergency Google search.
I learned:
Small sinkholes can be fixed with a hair dryer
Larger ones need more melted wax added
Centering your wick matters more than you think
(I also learned this happens to everyone! This is how you learn, by making mistakes and learning how to fix them)
I also learned new candle terms:
Cold throw = how it smells unlit
Hot throw = how it smells when burning
Sweating = fragrance oil separating
Tunneling = uneven burn down the center
It’s honestly a whole new language.
What I learned this week:
Mistakes are part of the process.
You fix them, adjust, and try again. and again. and again….
🕯️ Week 3: Boring… but Necessary
This week wasn’t exciting.
No new techniques.
No pretty reveal.
Just:
measuring correctly
testing wick sizes
paying attention to scent throw
getting consistent results
And honestly… this might have been the most important week.
Because this is where things started to actually work.
What I learned this week:
You don’t build good results by skipping the basics.
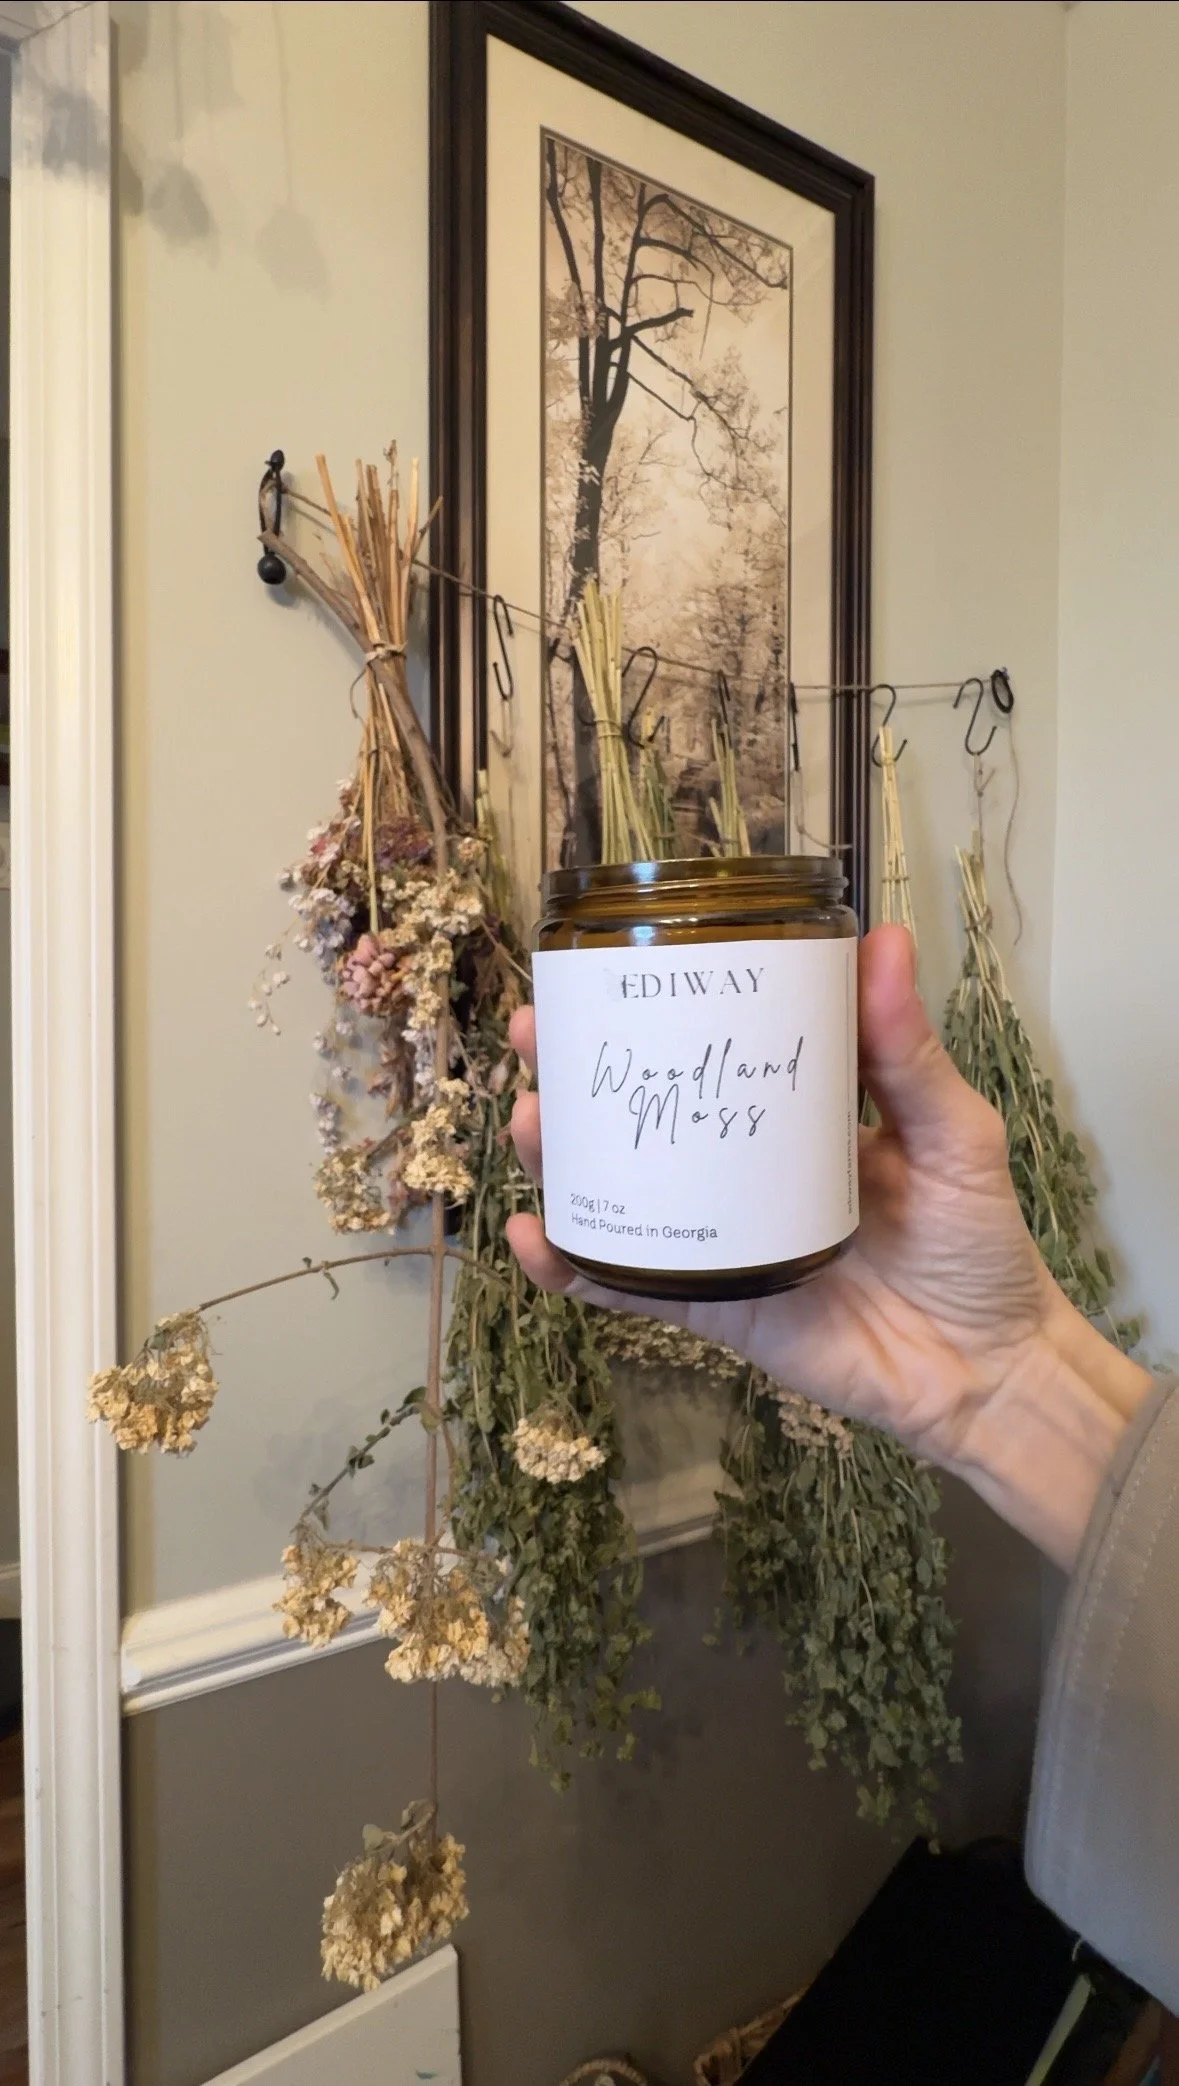
🕯️ Week 4: Making a “Sellable” Candle
By the end of the month, I wanted to see what this could actually look like as a product.
So I:
poured a candle into an amber jar
designed and printed a label
tested wax amounts and wick size
started thinking about branding
And this was the moment it shifted for me. Not just, “I made a candle”. But “I made something I could actually sell.”
What I learned this week:
A craft can become something bigger when you take it one step further.
🧰 What You Need to Start Making Soy Candles
If you’re starting from scratch, here’s what I’d actually recommend:
Basic Supplies:
Soy wax (I tried CandleScience new Artisan Soy but I have heard great things about Golden Brands 464)
Fragrance oil (make sure it says can be used for candles and don’t go over the fragrance amount 8-10% of what your total grams are is a good measure)
Candle wicks (so many options, I chose to order a few and test out different ones)
Heat-safe jars (I used amber jars and tested in a thick coffee mug I had on hand, get creative!)
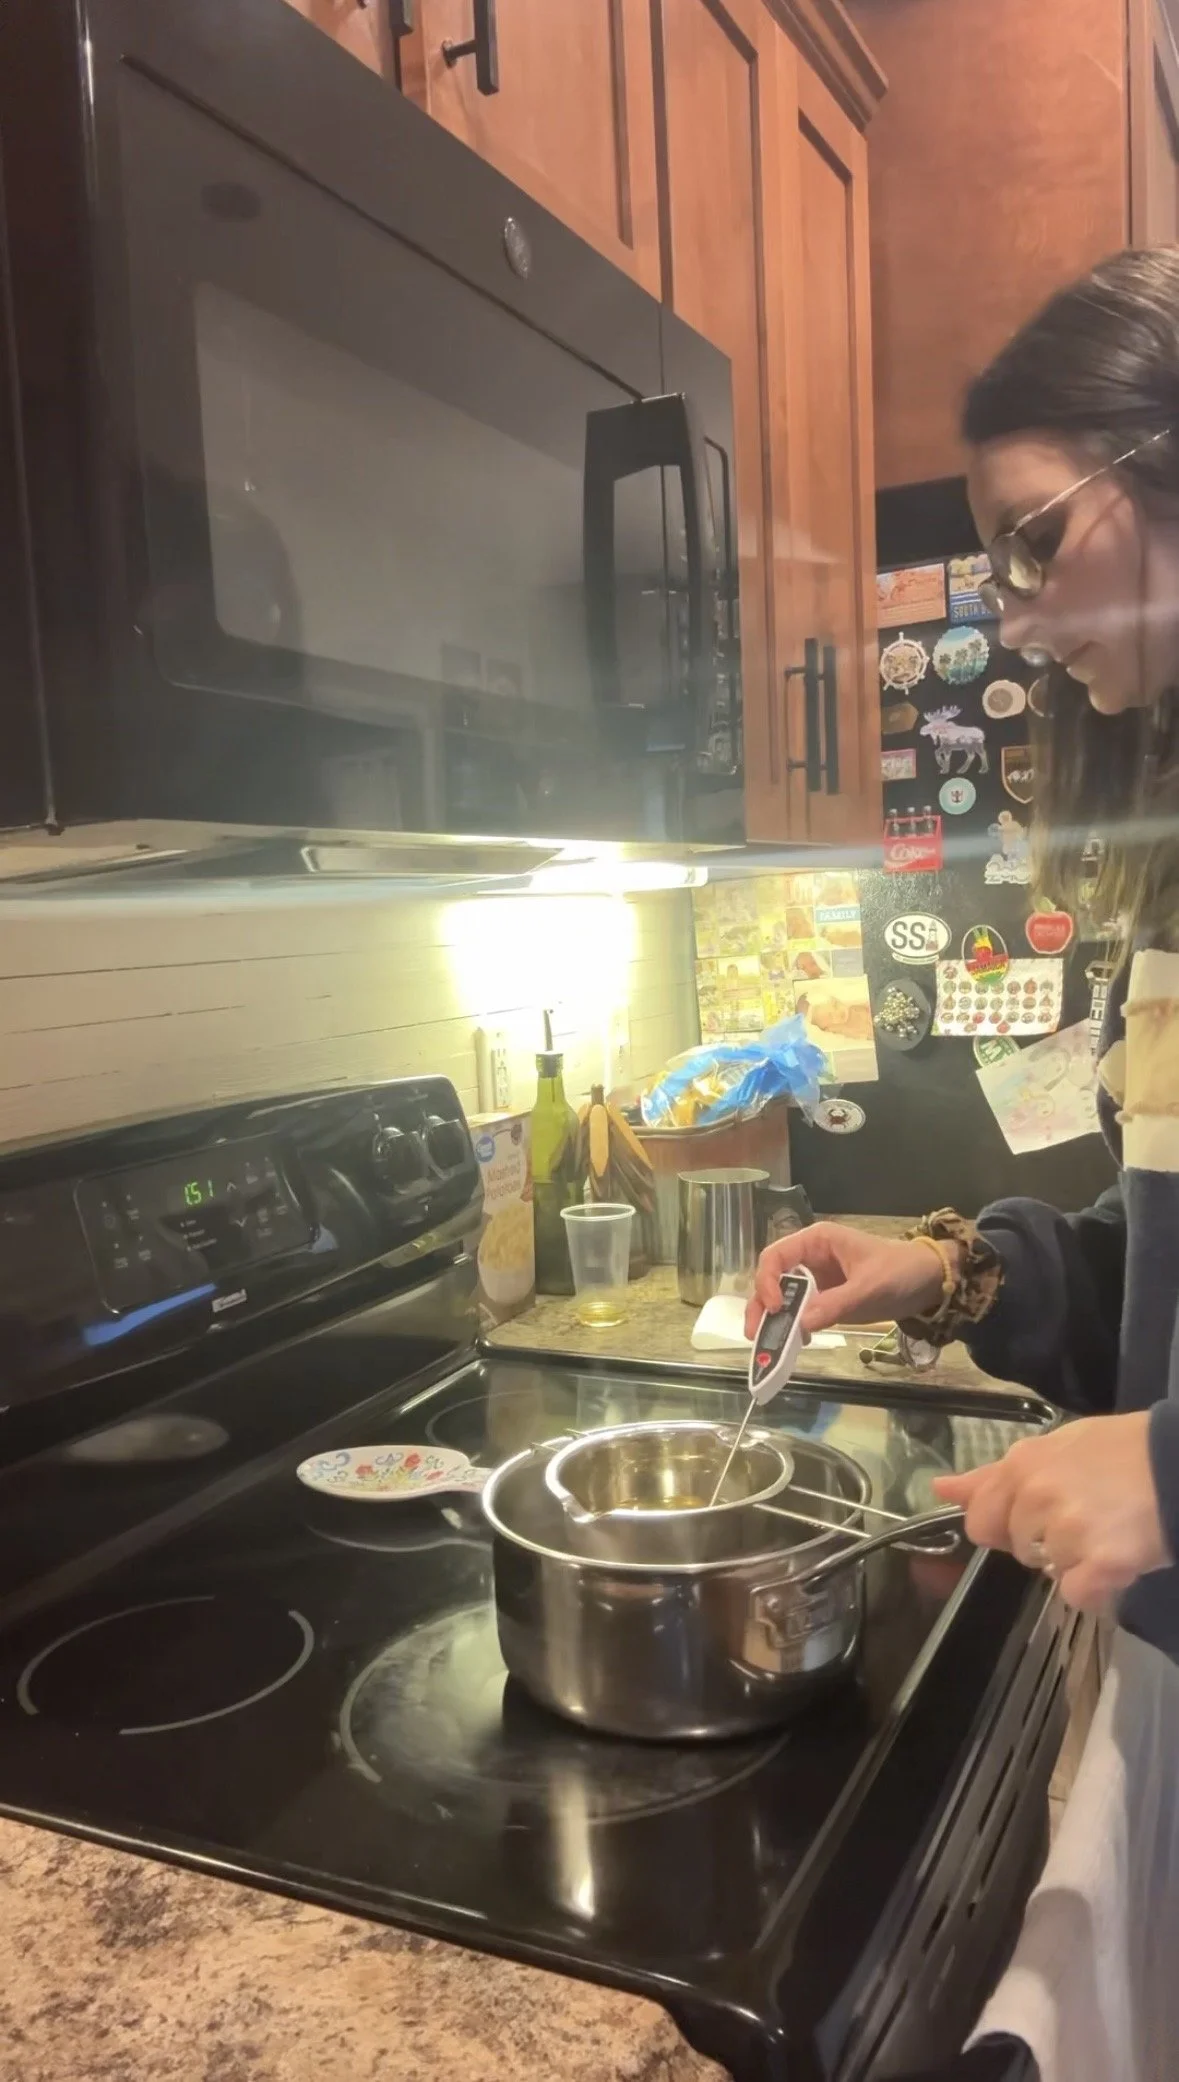
Thermometer (so important so you know when to pour your fragrance (usually 180-185), and when to pour your wax (depends on wax type))
Pouring container (I just grabbed this double boiler from Amazon and used a pot I already had at the house. Still works great)
Scale that measures small (here are the two I have and use both - one for wax, and one for fragrance)
Helpful Tools:
Wick centering tool (I grabbed some of these metal ones off Amazon but you can seriously just use some popsicle sticks)
Stirring utensil (I started using a wooden spoon but realized fast I needed a metal long one, so I ordered these off Amazon. Not necessary but helpful!)
Wick stickies (You can pour freely and hold your wick still, but this just made it so much easier. They are stickies you stick on the bottom of the candle and then stick your wick that has the metal bottom to it, so it stays completely still and centered)
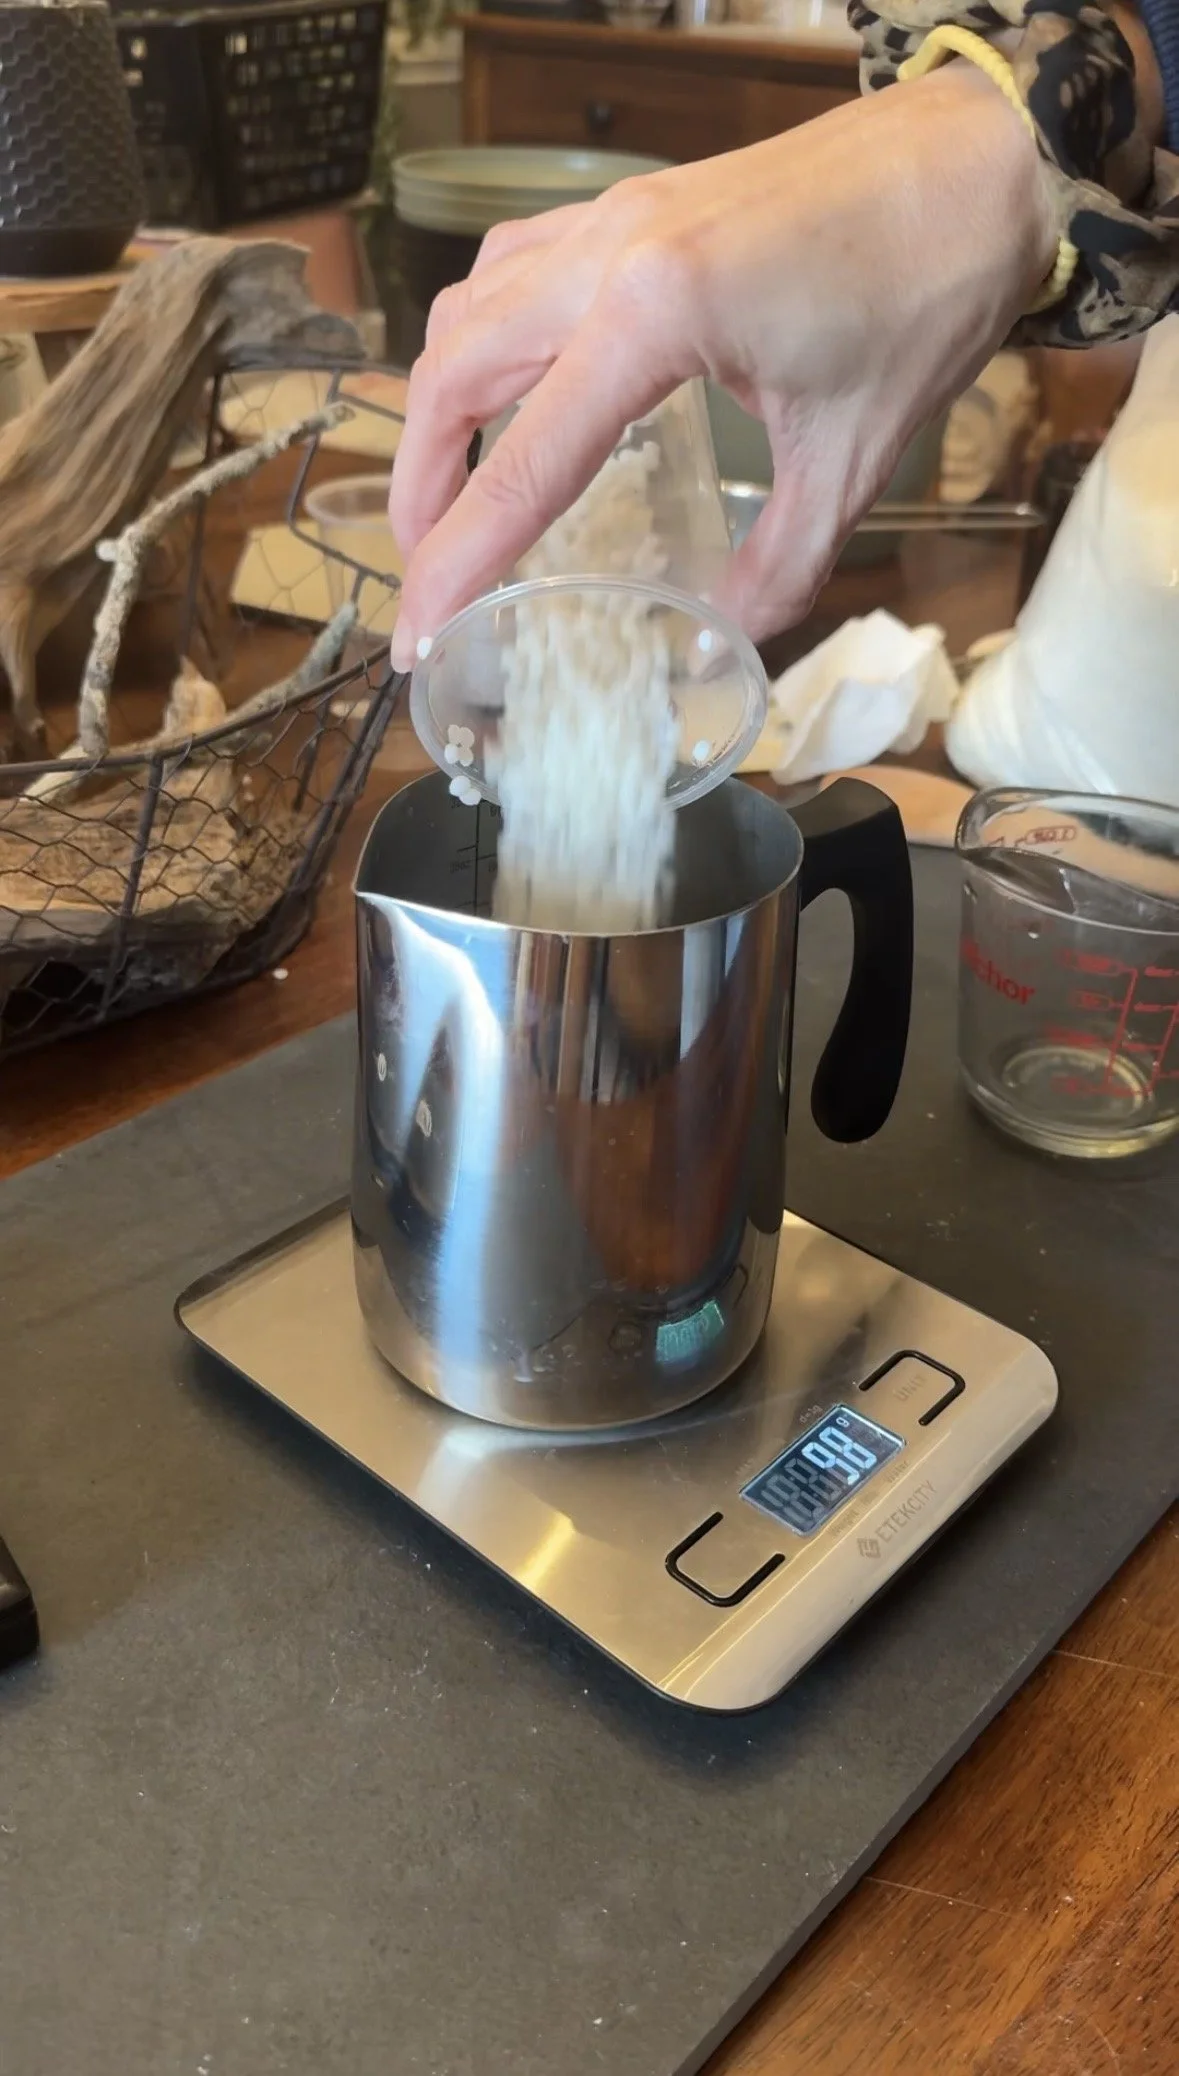
Step 1: Measure your wax
Weigh your wax based on your container.
👉 Example:
7 oz candle ≈ 200g wax
Always measure by weight, not volume
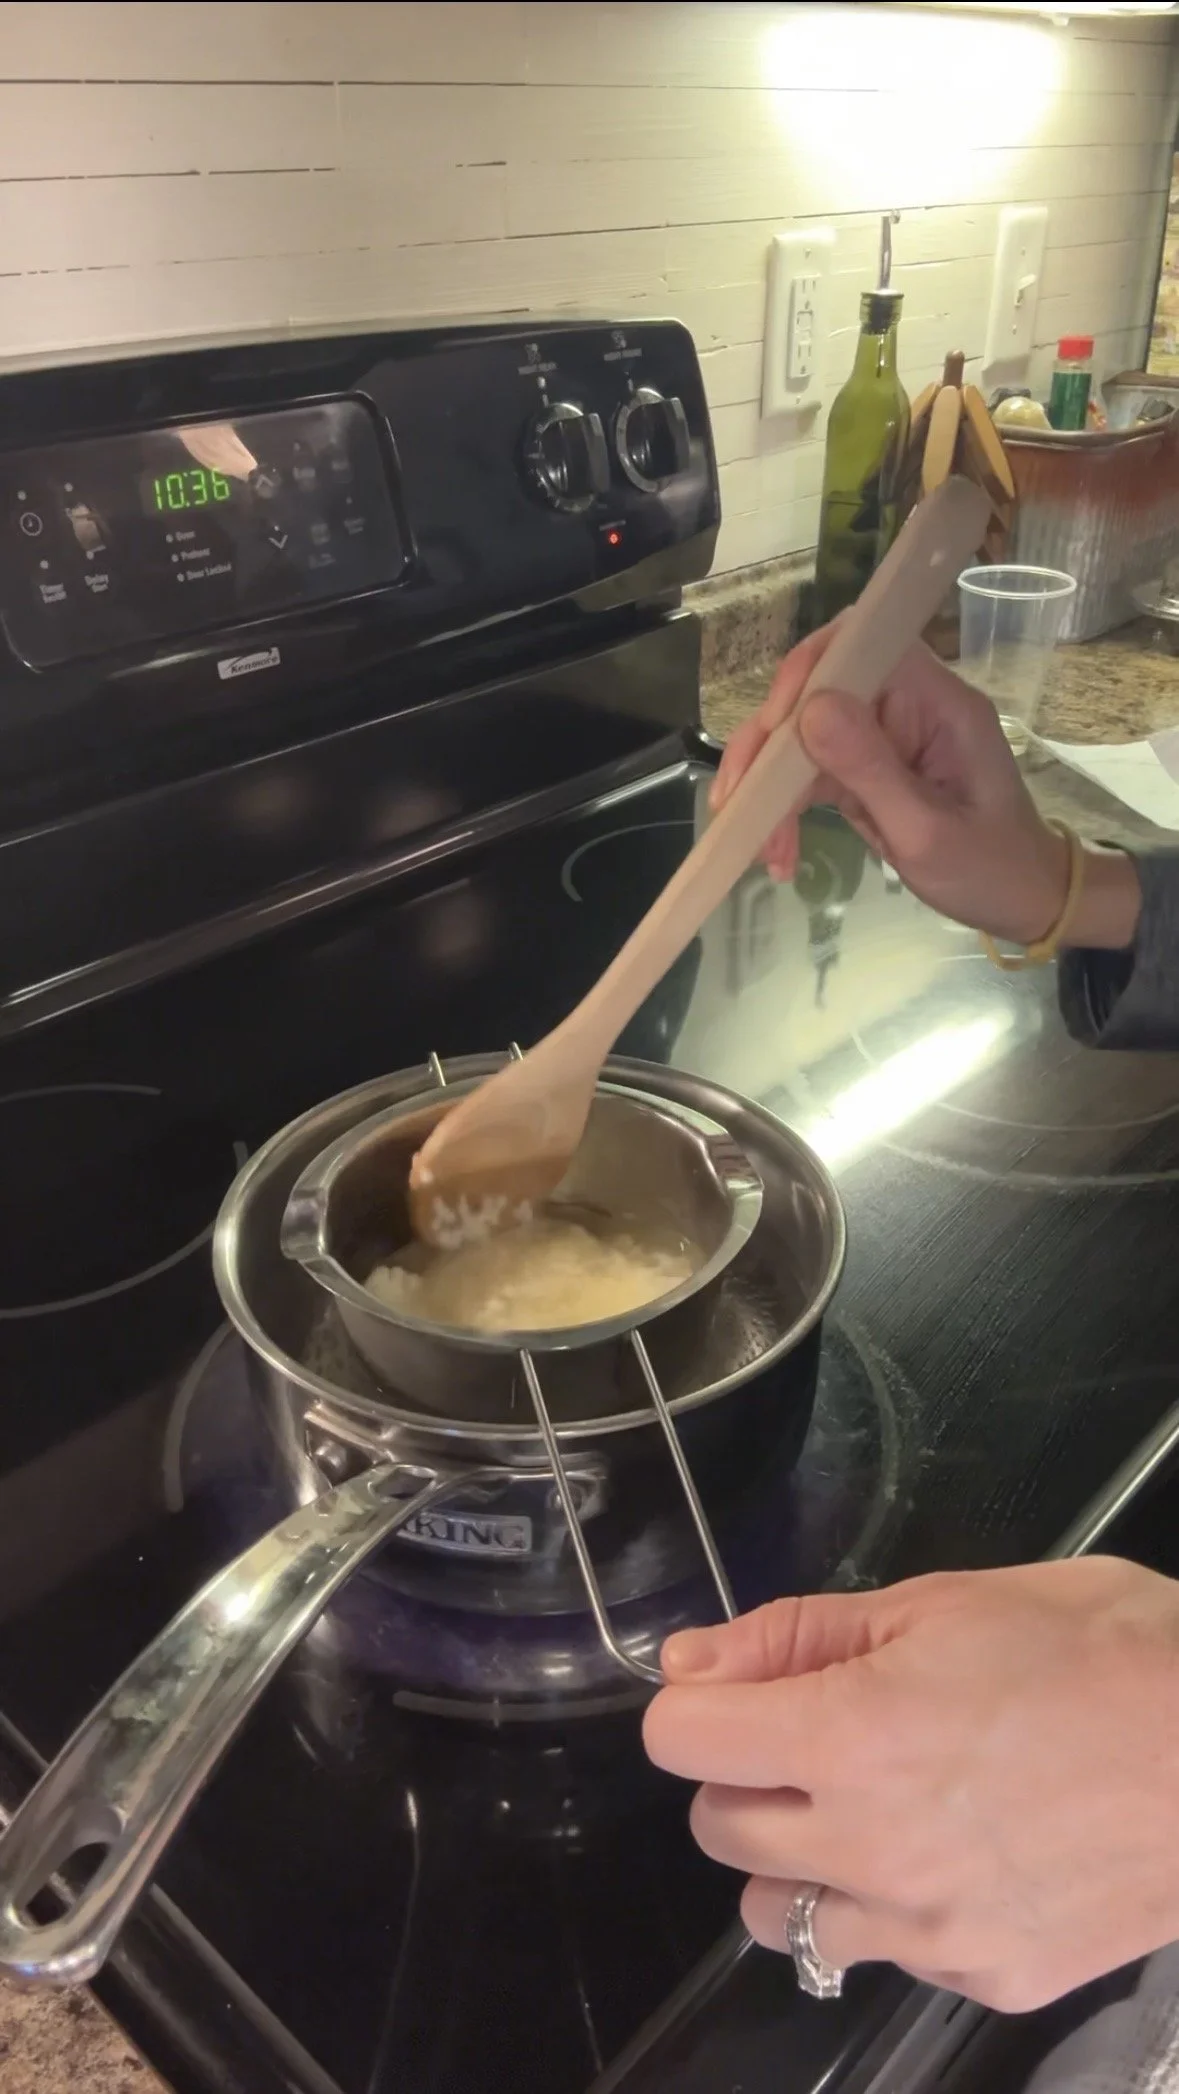
Step 2: Melt your wax
Heat wax to ~185°F (or follow the directions on your wax if using something besides soy)
Use a double boiler or wax melter
👉 Don’t rush this—slow melt = better results
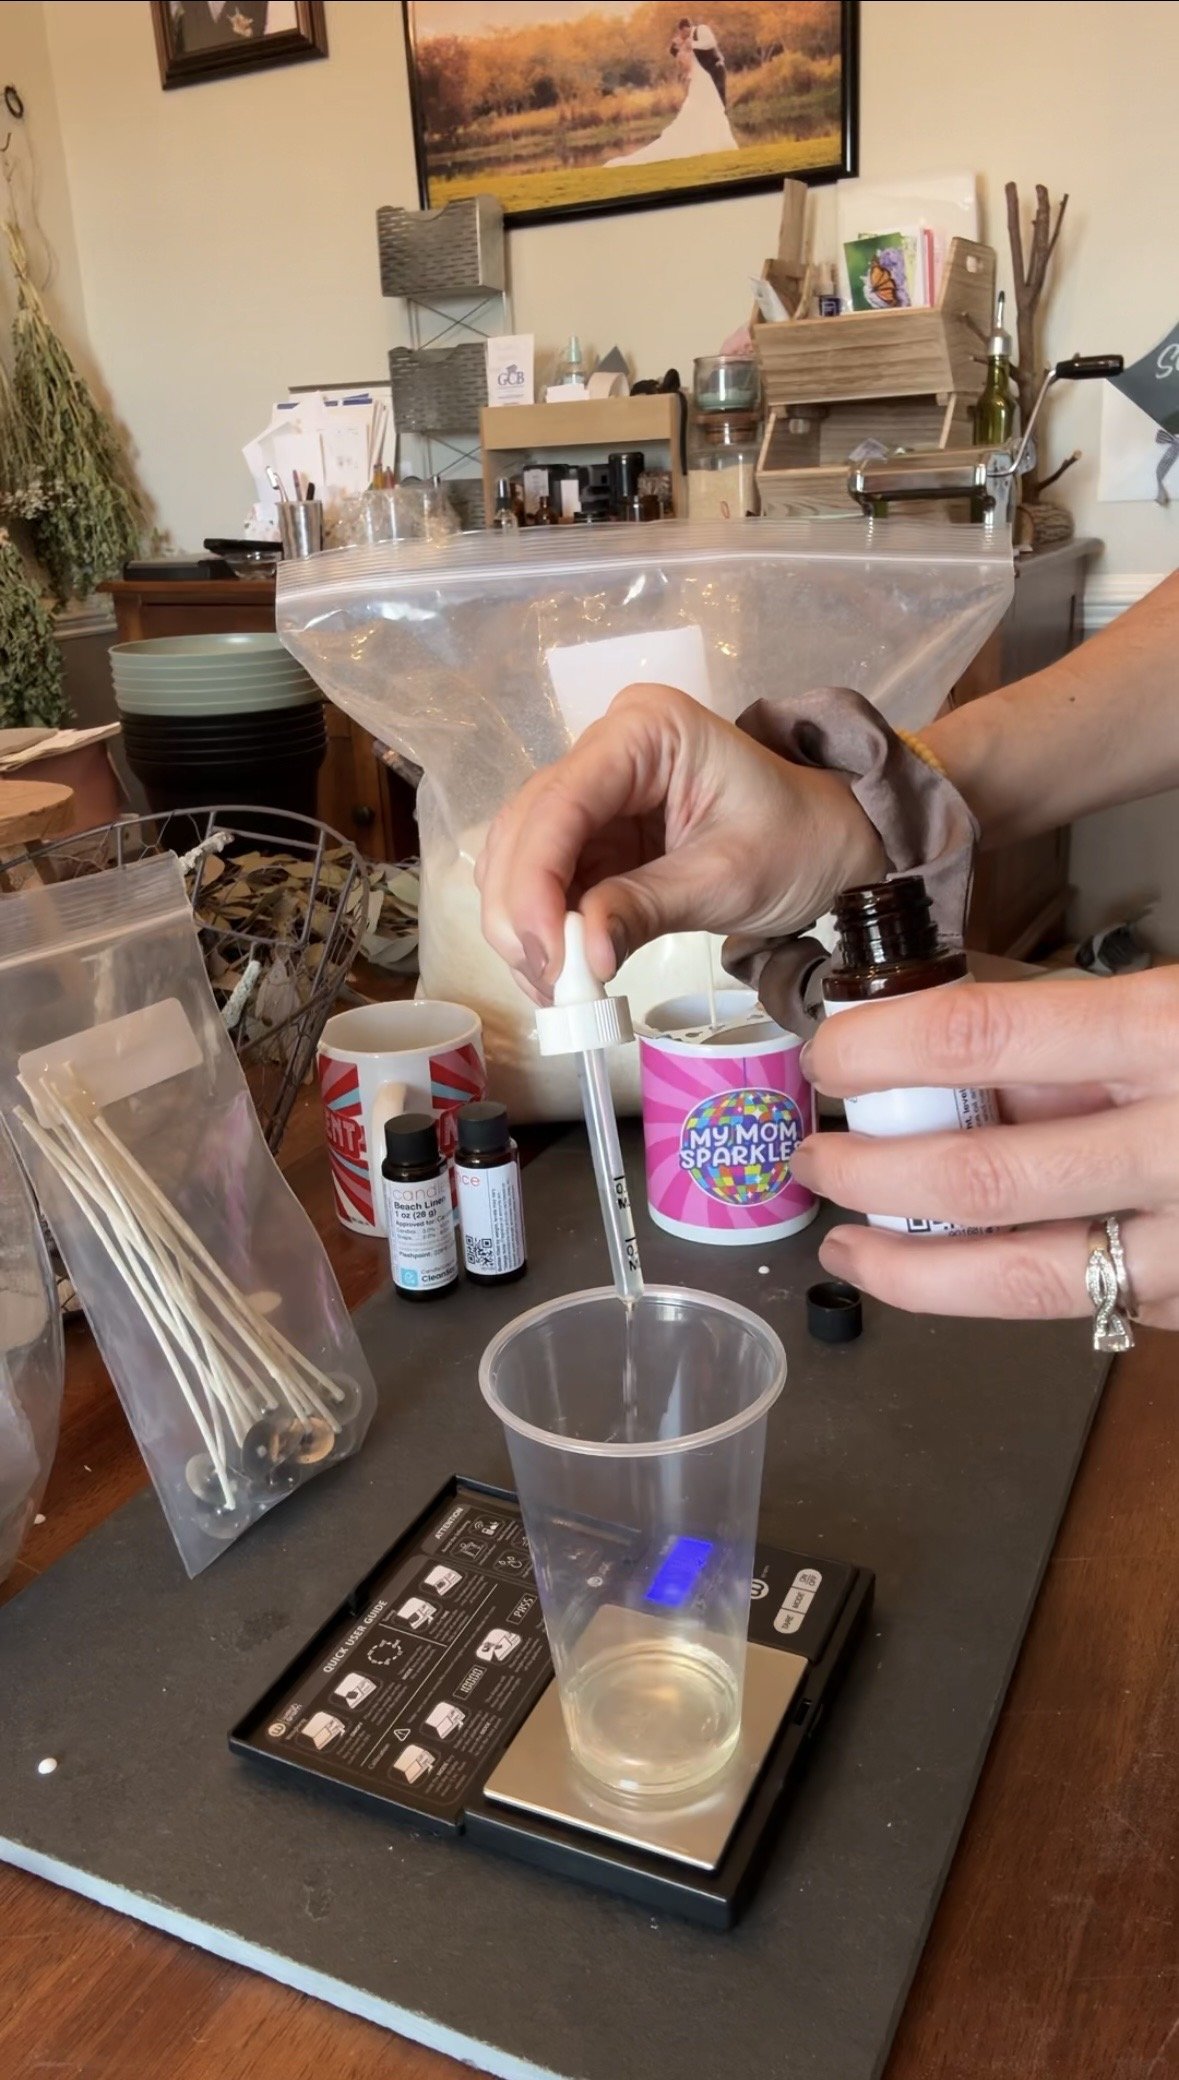
Step 3: Add fragrance oil
I have tested pouring at 170, 180, and 185. So far all have worked. Most will say pour around 185. It depends on the oil and the wax you are using.
Add fragrance oil (typically 8–10%)
👉 Example:
200g wax → ~18g fragrance
Stir for 1–2 minutes (this matters for scent throw)
Step 4: Prepare your jar
Attach wick to bottom
Center it
Use holder to keep it upright
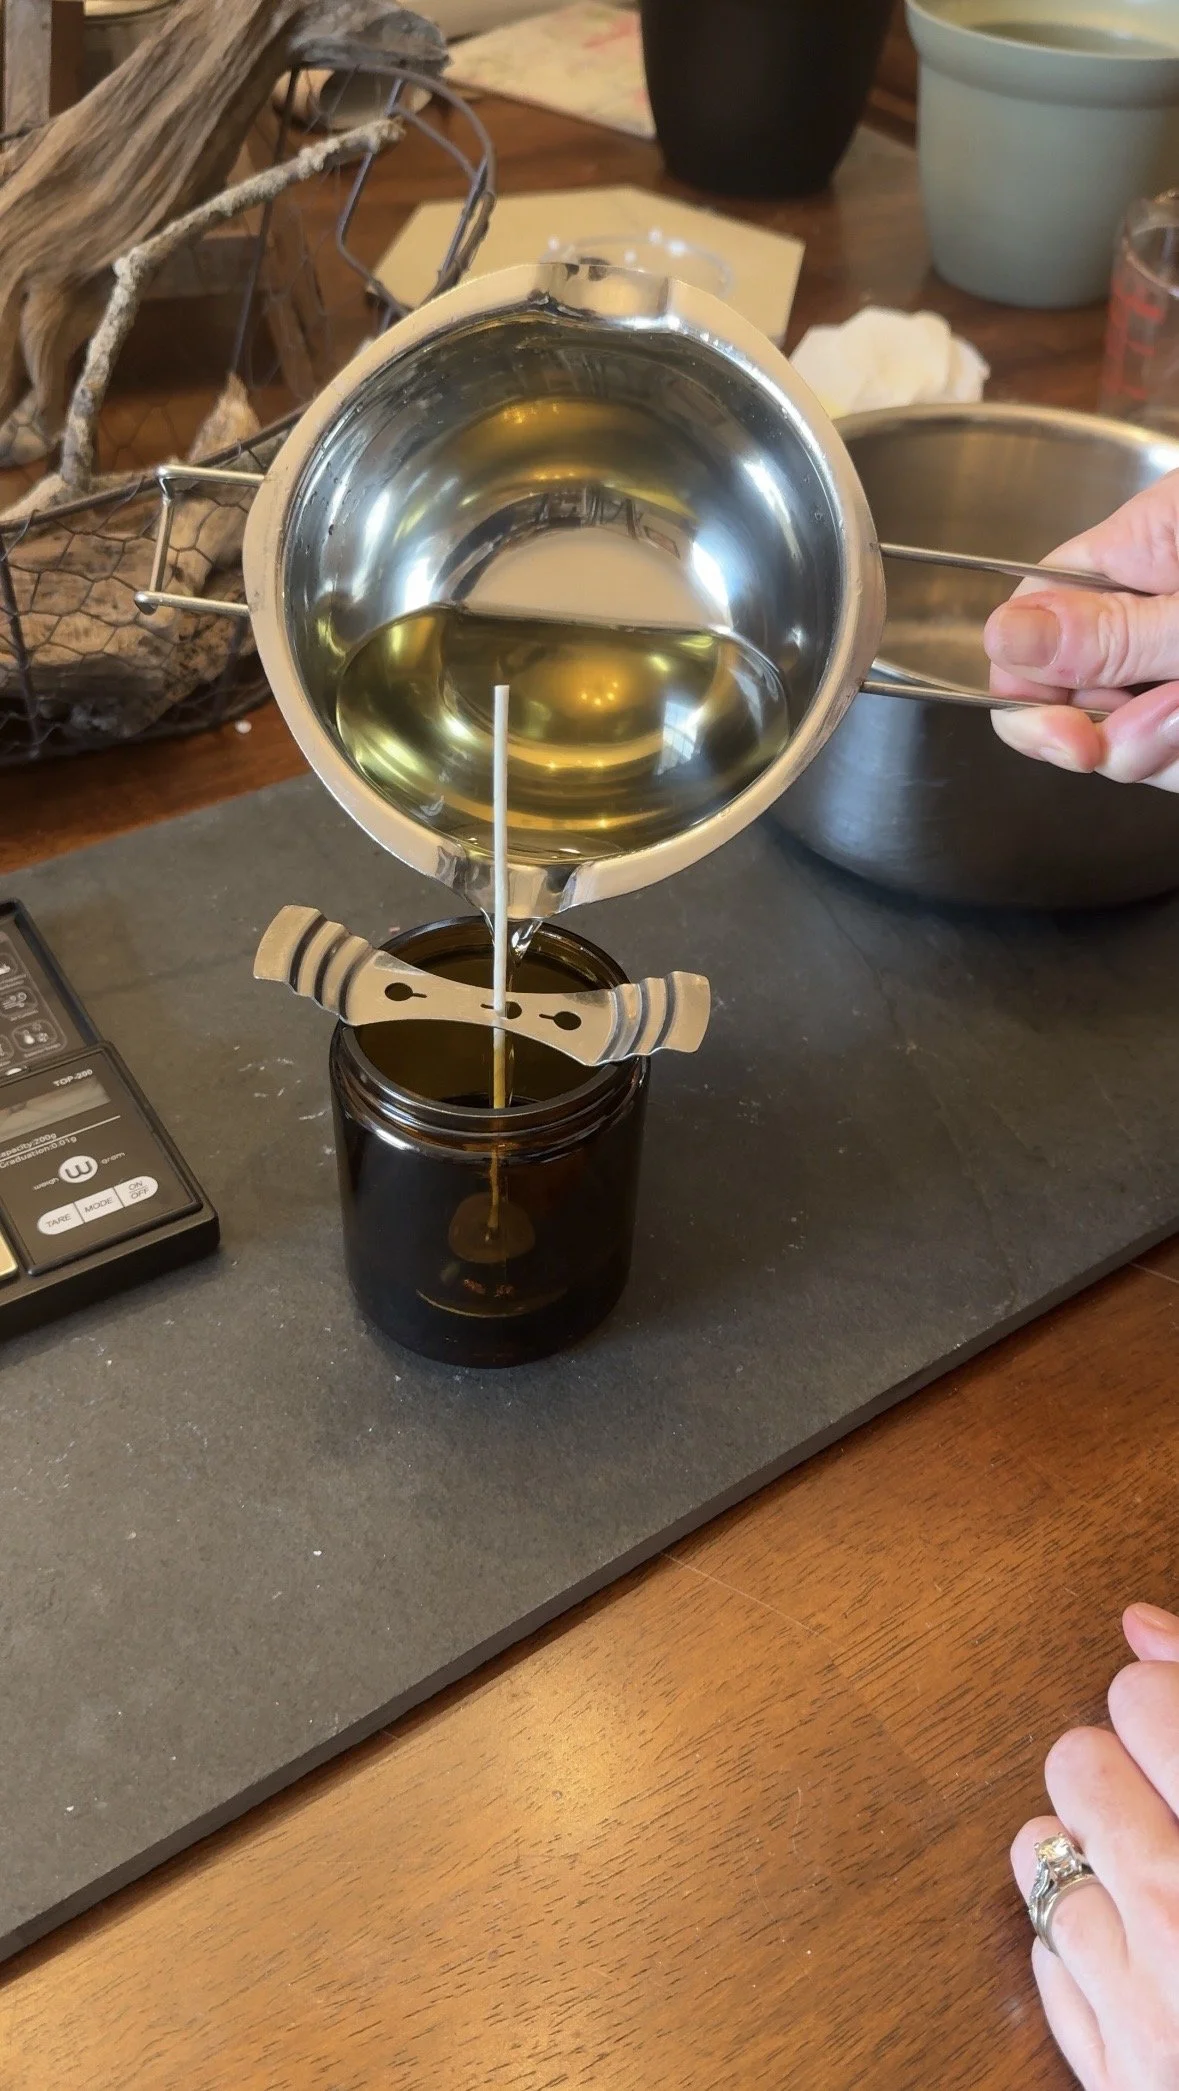
Step 5: Pour your candle
Pour at ~135–145°F (for soy wax)
👉 Too hot = sinkholes
👉 Too cool = rough tops
Step 6: Let it set
Let candle sit undisturbed
Avoid moving it while cooling
Step 7: Trim wick
Trim to ¼ inch
Step 8: Cure your candle
👉 This is where beginners mess up (I tried burning after 2 days and was like where is the smell?)
Let candle cure 7–14 days
This improves scent throw (hot + cold)
Common mistakes
Adding fragrance too hot or too cool
Not stirring long enough
Using wrong wick size
Burning too soon (no cure time)
What I Would Do Differently
If I were starting over:
Focus on one scent first
Learn wick sizing earlier
Measure more carefully from the beginning
Expect the first candle to not be perfect or even maybe the 3rd
Be patient with testing
🌱 Why I’m Doing This
I didn’t learn candle making to become an expert overnight. And I am still far from one.
I learned it because I’m someone who loves to create — and I don’t want to feel limited to just one thing.
This year, I’m learning a new craft each month.
Embroidery.
Candles.
Paper.
Not perfectly.
Just intentionally.
Because I think more of us would try new things if we stopped waiting until we felt ready.
🤍 Follow Along
Next up: handmade paper.
And once again… I had no idea what I was doing 😅.
If you love DIY, learning new skills, and figuring things out as you go — you’re in the right place.