How to Make Handmade Paper from Scrap Paper
Some of the links in this post are affiliate links — which just means I may earn a small commission if you grab something through them (at no extra cost to you).
I only share things I’ve actually tried while figuring this out myself.
Turn kids’ artwork and scrap paper into something new.
You know all those papers that come home from school every day… drawings, worksheets, little masterpieces your kids worked so hard on? Most of the time they end up in a pile… and eventually the trash.
But there’s another option.
Instead of throwing them away, you can turn them into beautiful handmade paper that can be used for art, journaling, gift tags, or even homemade cards.
This simple project transforms scrap paper into something new while giving those drawings a second life.
What You’ll Need
Scrap paper (printer paper, drawings, newspaper)
Water
Blender or food processor (an extra-not one you use for food after)
Large container or bin
Screen or mesh frame (the one linked as a sponge already in it and various sized screens)
Cloth or felt
Sponge
Cutting board or flat surface
Optional additions:
Dried flowers
Herbs
Seeds
Natural dyes or food coloring
Avoid glossy magazine paper as it doesn’t break down well.
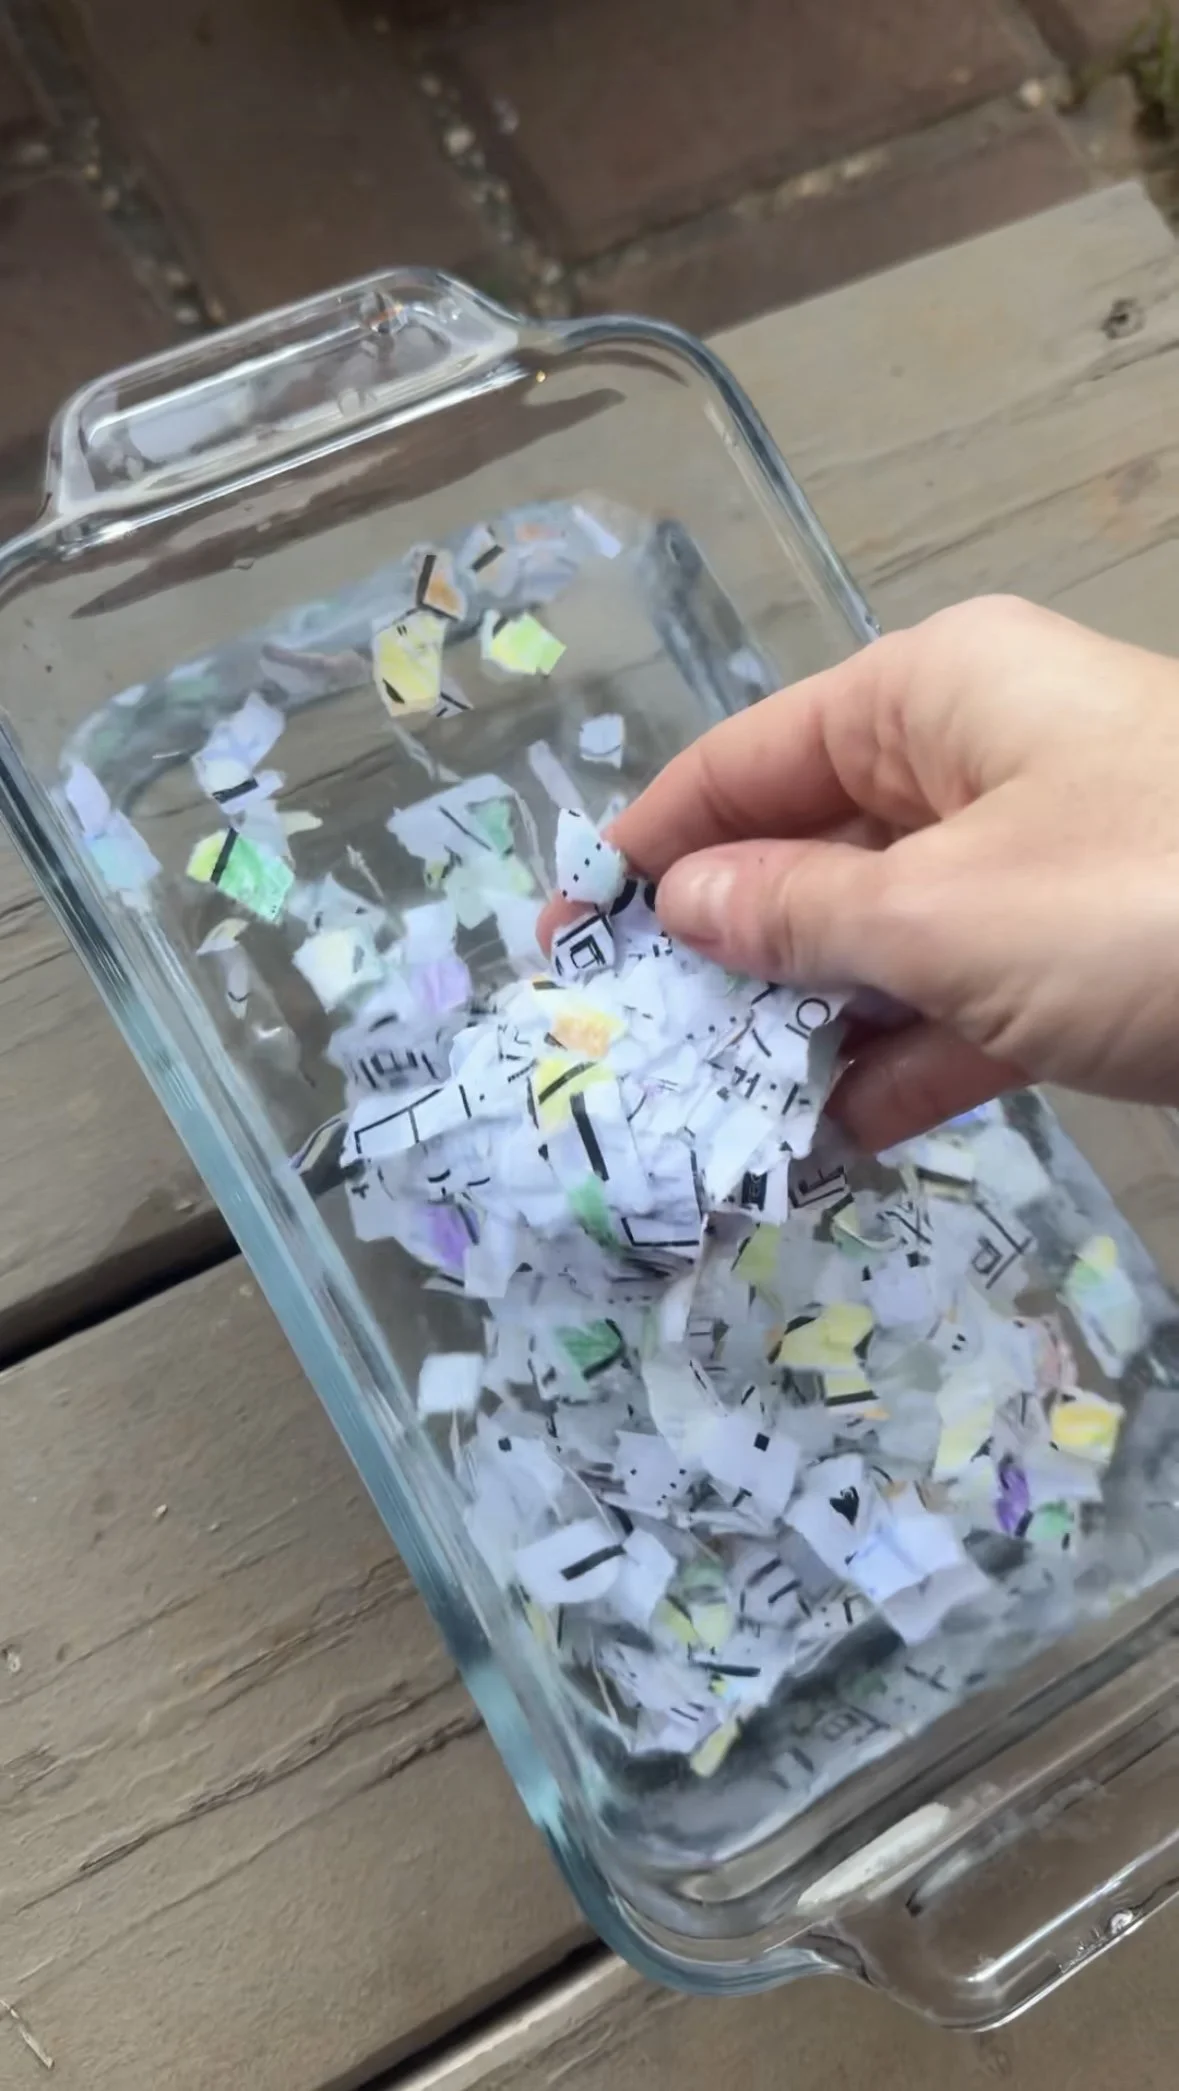
Step 1: Collect and Tear Your Paper
Gather old papers, kids’ drawings, newspaper, or other scrap paper.
Tear the paper into 1–2 inch pieces or strips. Smaller pieces help the fibers break down more easily when soaking and blending.
Step 2: Soak the Paper
Place the torn paper into a bowl or container and cover it with water.
Hot water works best because it helps loosen the fibers faster.
Let the paper soak for 30 minutes to overnight. The longer it sits, the softer the fibers become and the easier it will be to blend.
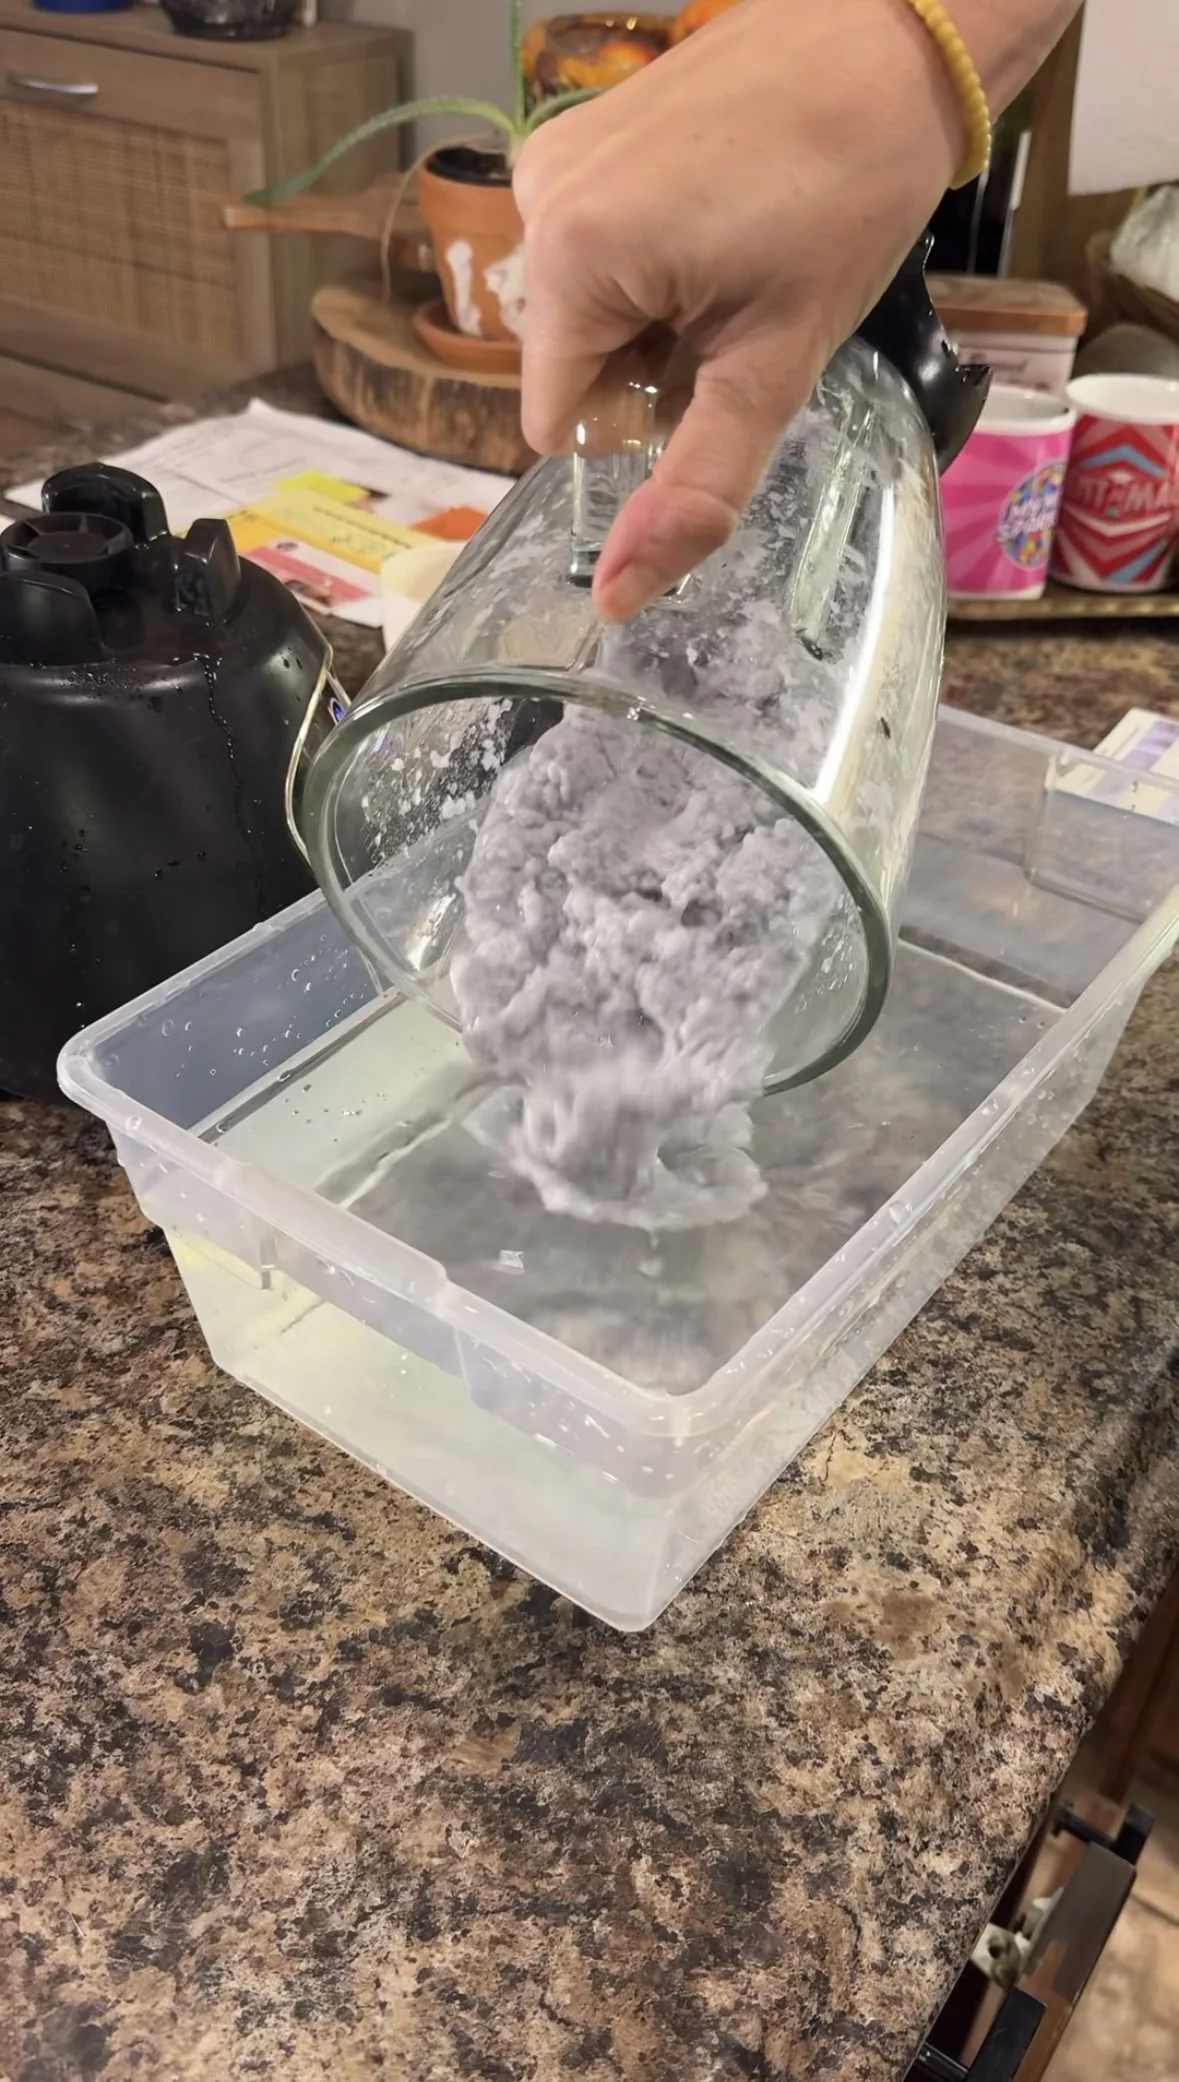
Step 3: Blend into Pulp
Once the paper has soaked, transfer a handful of the paper and water into a blender or food processor.
Blend until it becomes a soft pulp.
You’re looking for a texture similar to watery oatmeal. If the mixture is too thick, add a little more water and blend again.
Step 4: Create Your Paper Bath
Fill a large container or bin with water.
Pour the blended pulp into the container and gently stir so the fibers spread throughout the water.
This mixture is where your paper sheets will form.
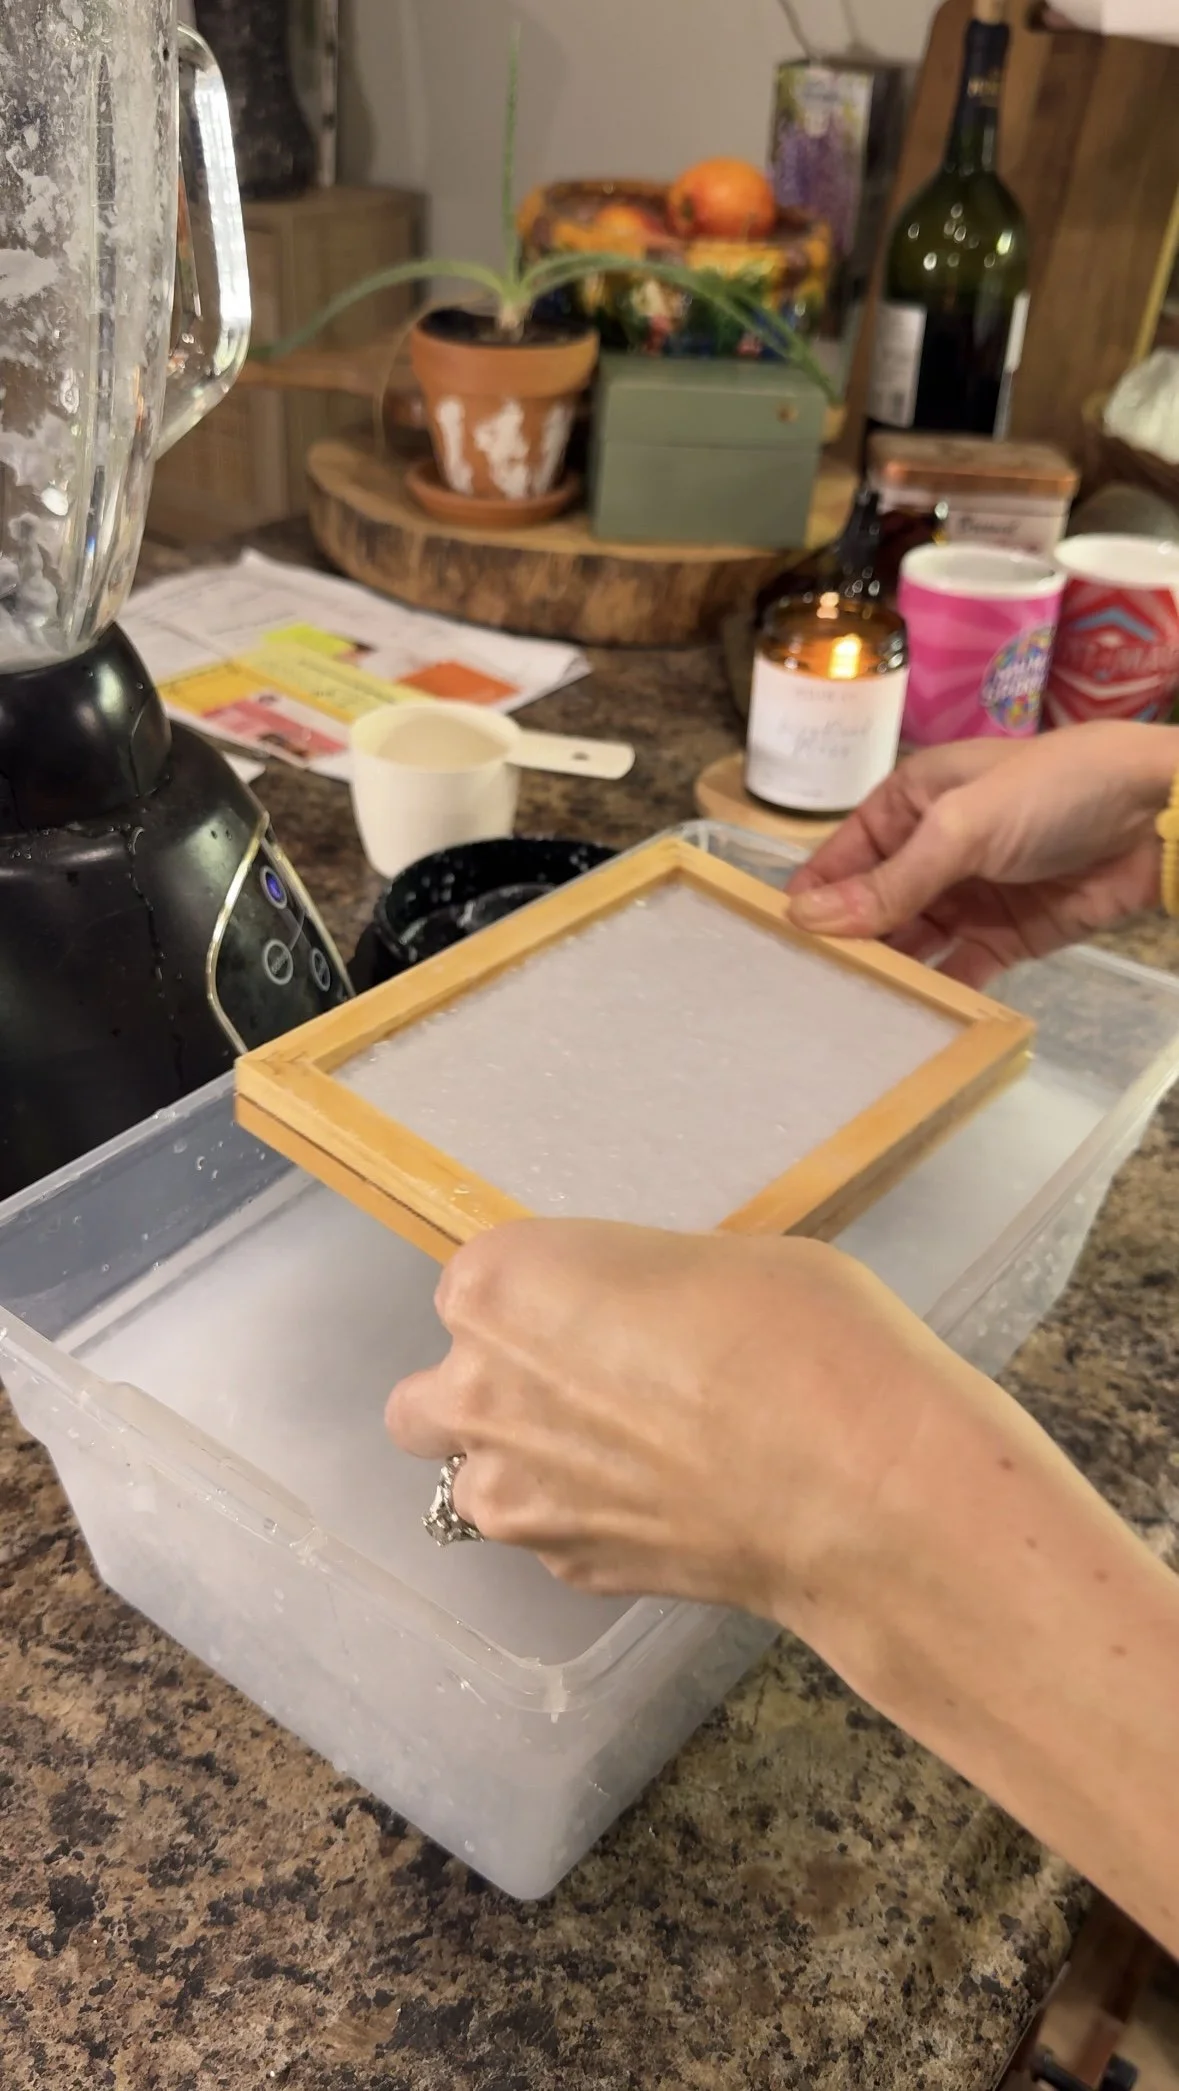
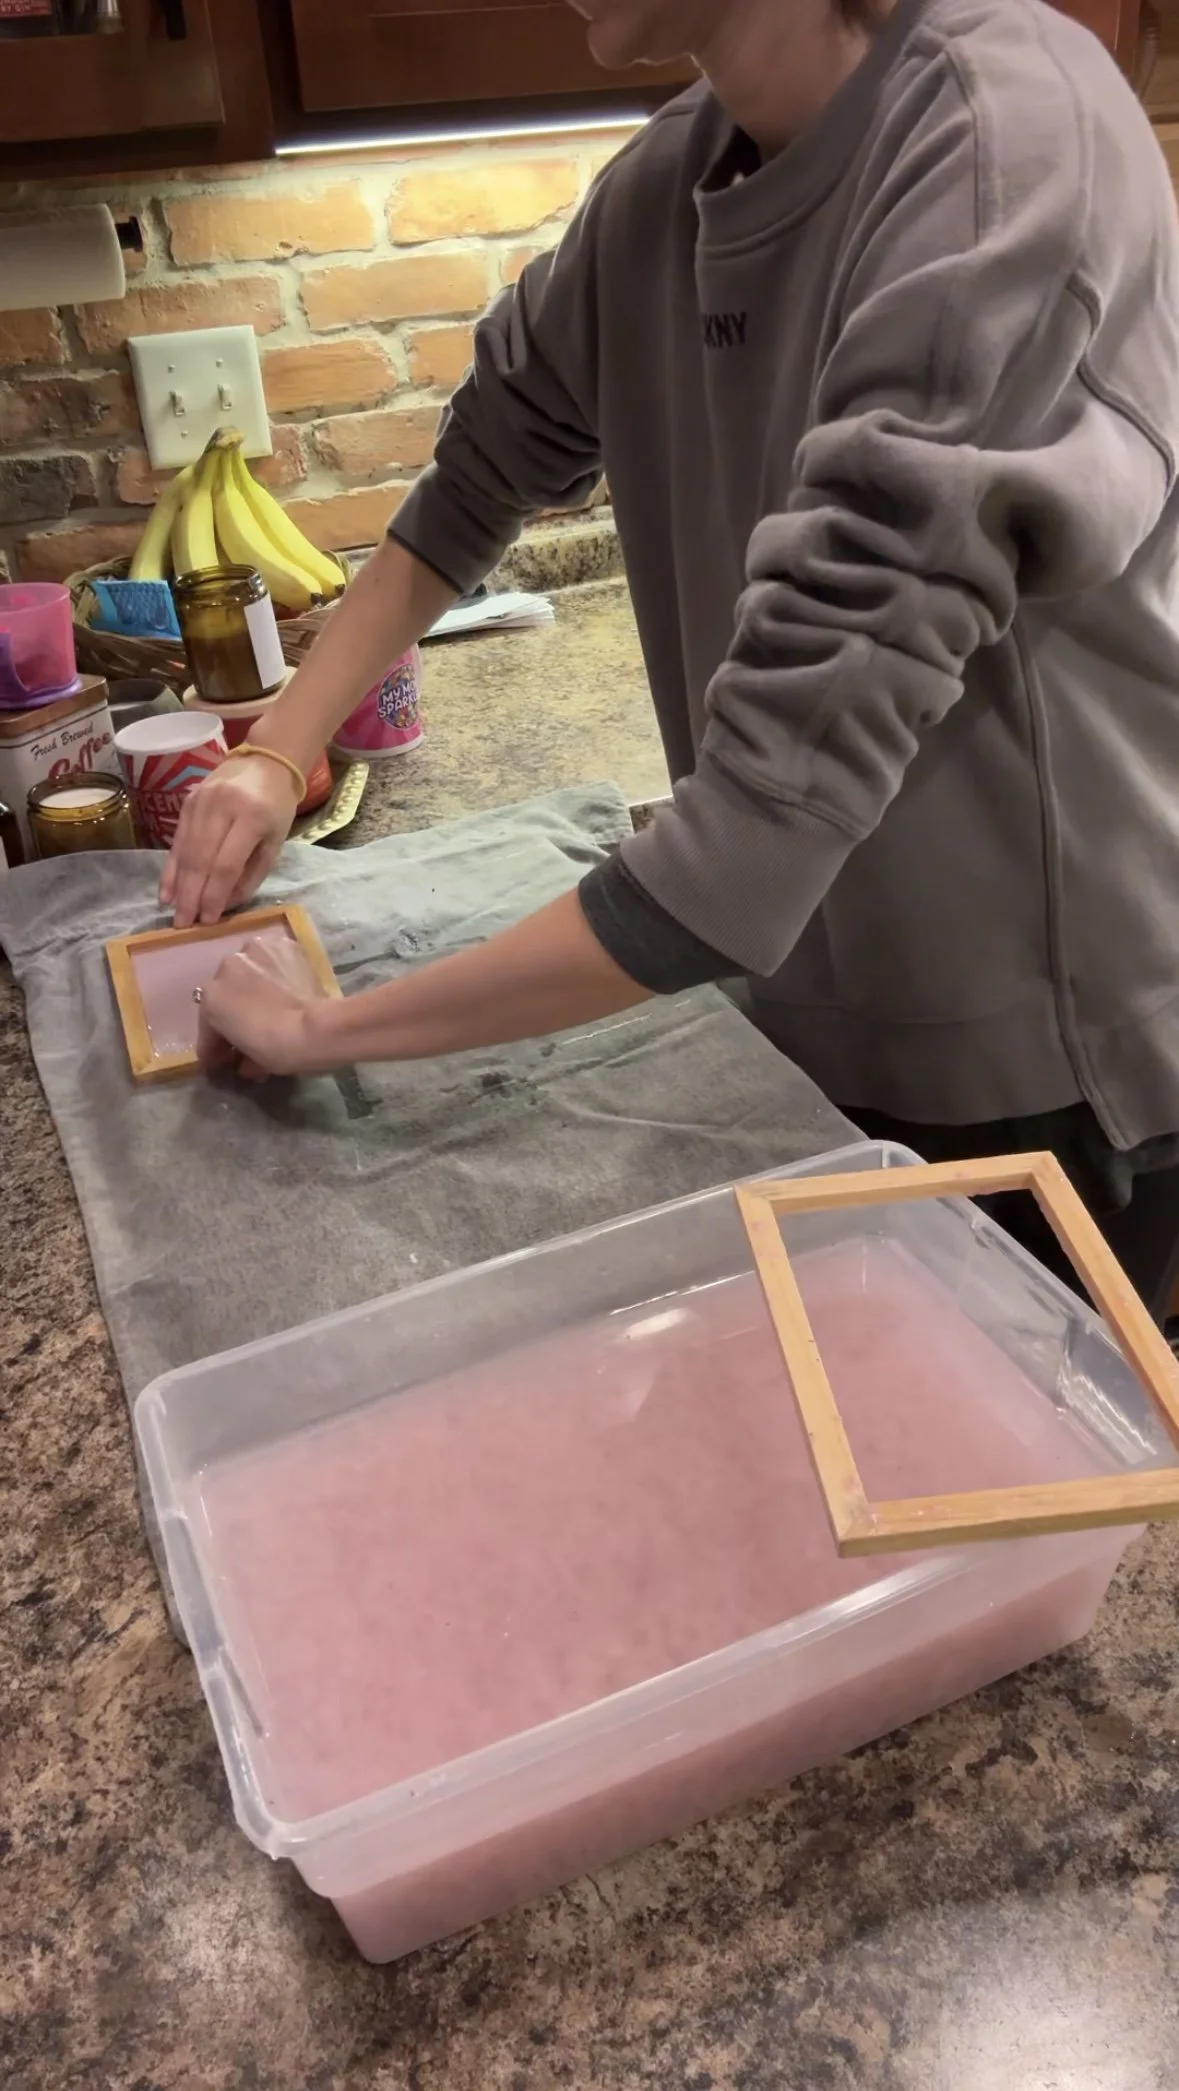
Step 5: Form Your Paper
Recommended for frame: 2 frames (1 with screen attached, 1 loose screen, 1 loose frame)
Place your frame with screen with screen side up, place screen on top of that, place loose frame)
Dip your screen or mesh frame into the water and lift it slowly while keeping it level.
The pulp fibers will settle onto the screen, creating a thin layer that will become your paper.
If the sheet looks too thin, you can scoop a little more pulp onto the screen.
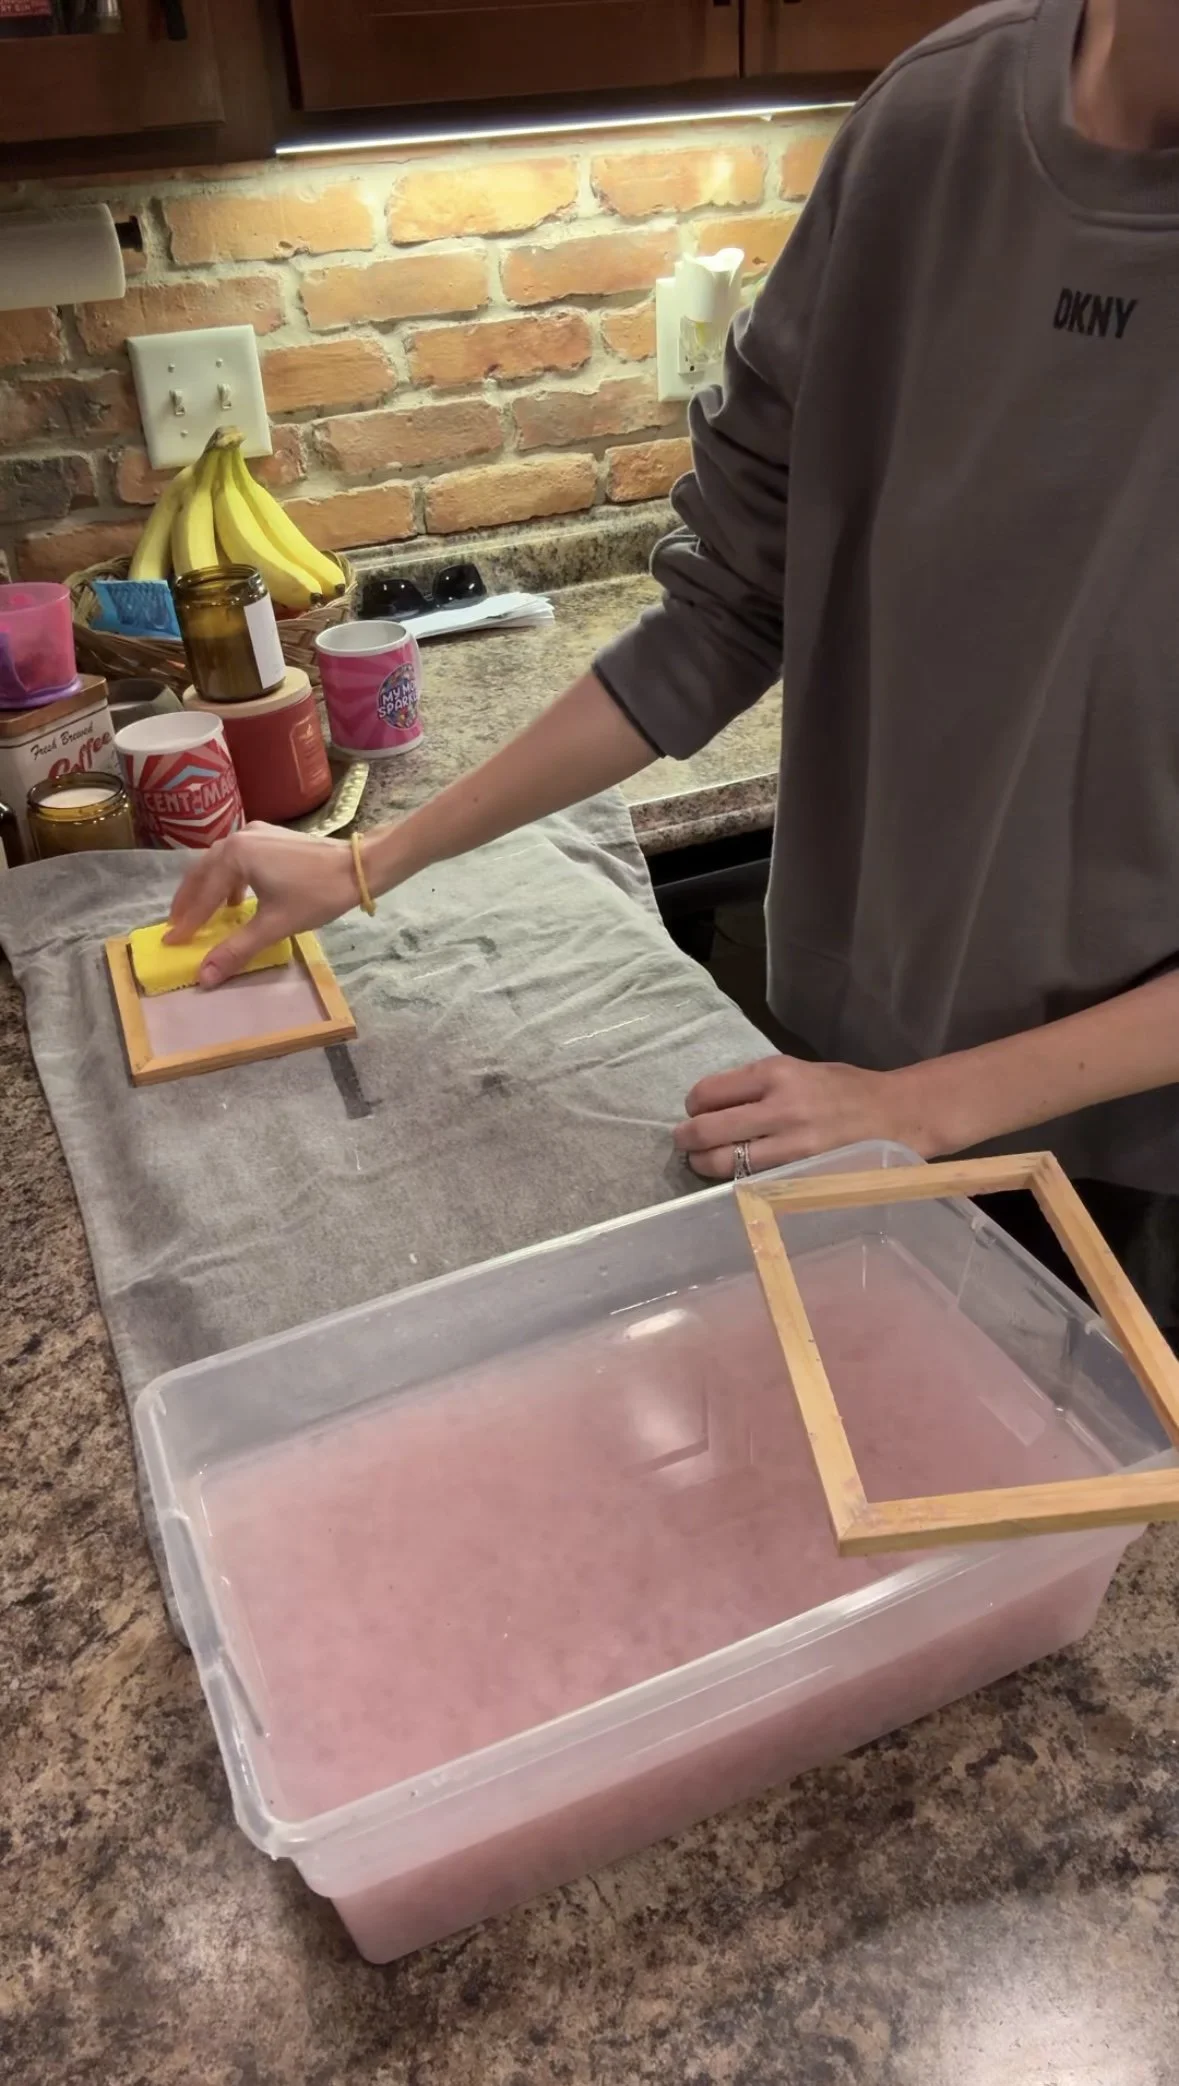
Step 6: Remove Excess Water
Place a cloth or felt on a flat surface.
Take off the top part of your frame.
Flip the screen onto the cloth so the wet paper transfers onto it.
Use a sponge to gently press and absorb excess water. This helps flatten the fibers and speeds up drying.
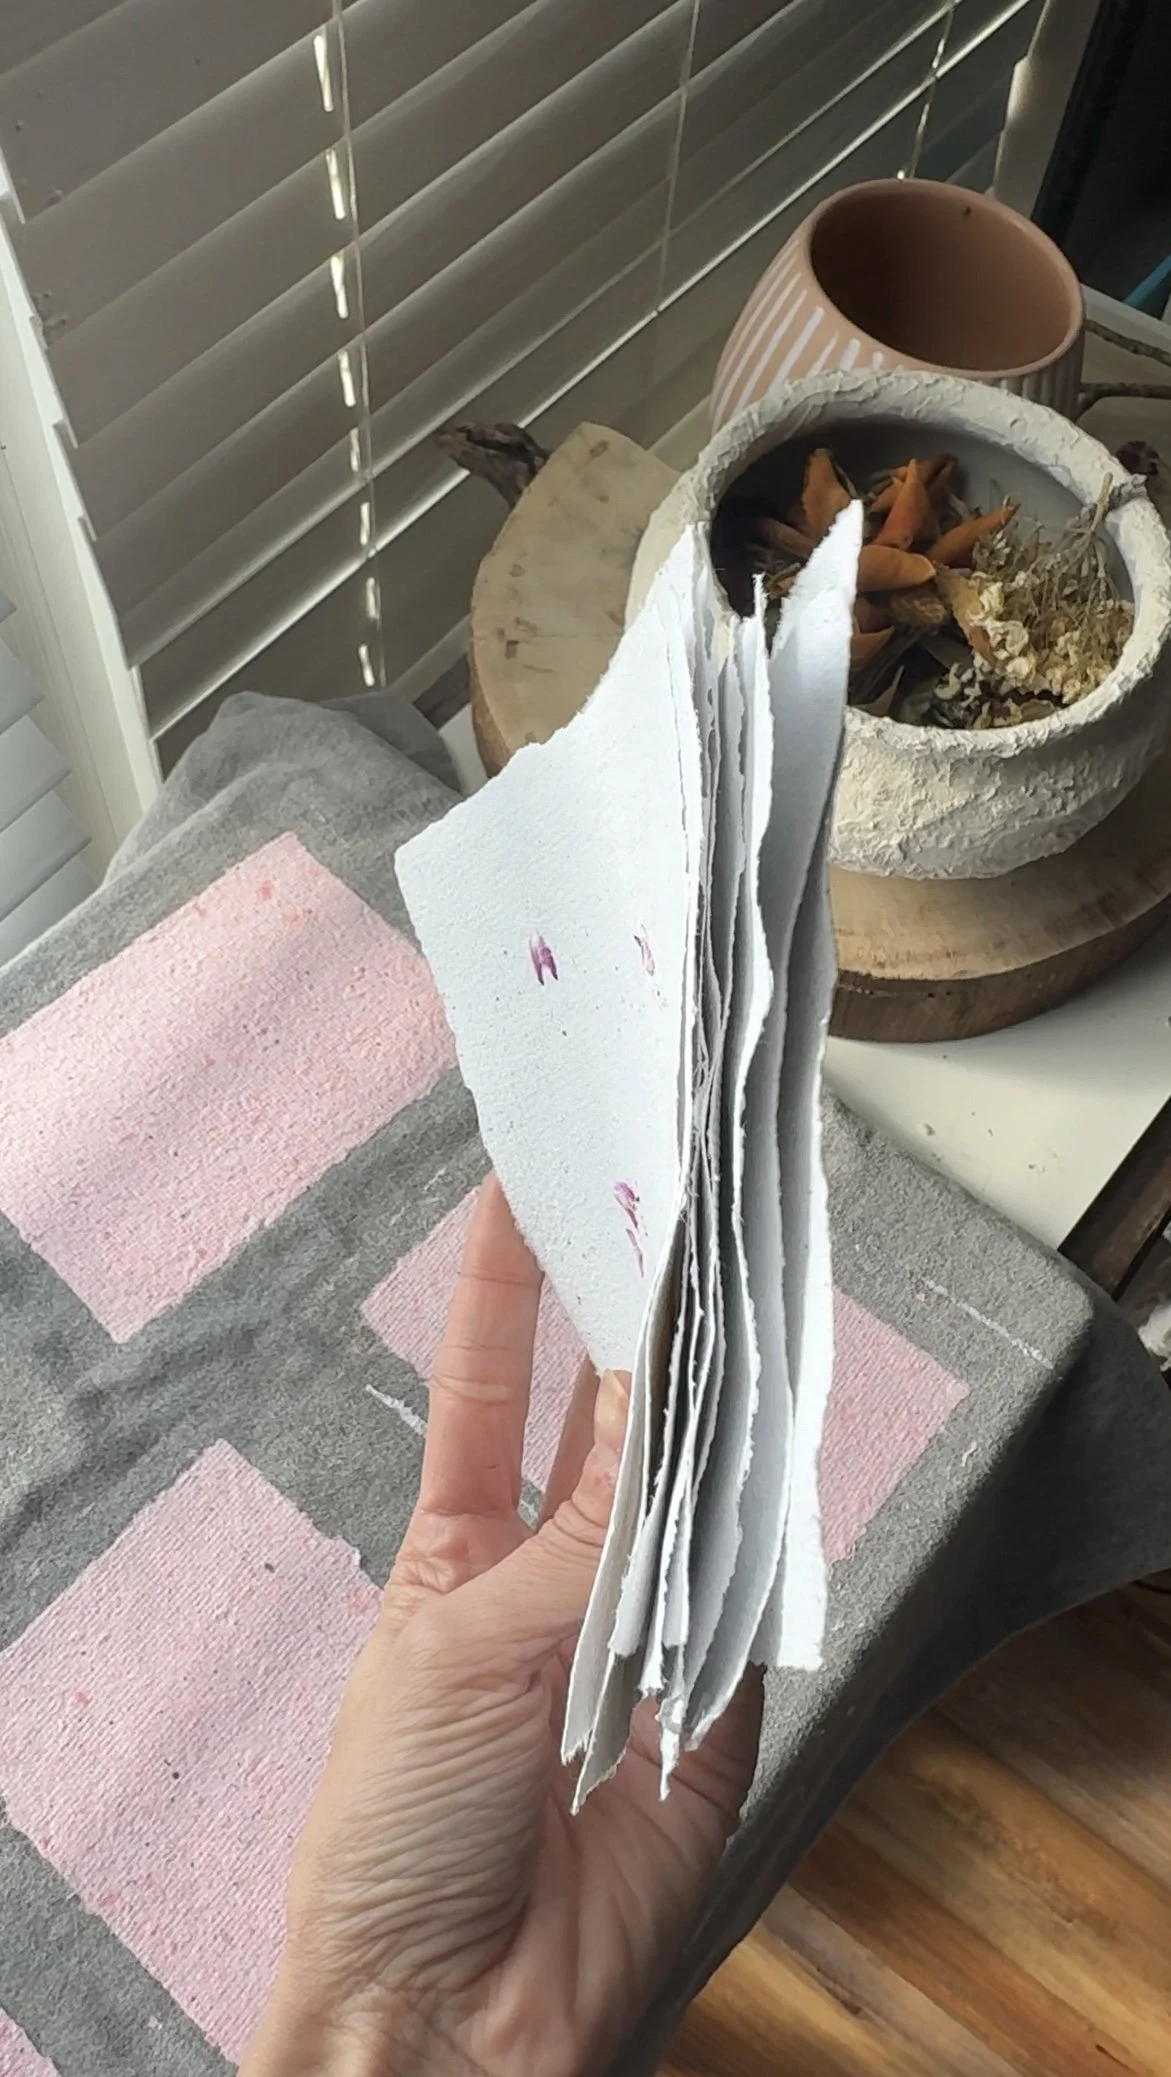
Step 7: Let the Paper Dry
Leave the paper on the cloth to dry for about 24 hours.
I like to place the cloth on a cutting board or flat surface so the paper dries evenly.
Once dry, carefully peel it off the cloth.
Your handmade paper is ready to use!
Fun Ways to Customize Your Paper
You can make each sheet unique by adding:
pressed flowers
herbs
small leaves
seeds
colored pulp
These additions can create beautiful textures and patterns in the finished paper.
What Can You Use Handmade Paper For?
Handmade paper is perfect for:
journaling pages (especially fairy or junk journals)
handmade cards
gift tags
art projects
scrapbooking
bookmarks
It’s also a great activity to do with kids and a fun way to reuse materials you already have at home.
Final Thoughts
Sometimes the simplest materials can become the most beautiful projects.
Turning scrap paper into handmade paper is not only creative but also a small way to reuse and appreciate the things we already have.
And who knows — those school drawings might end up becoming your next favorite notebook or piece of art.
Need to see visuals? I get it! Here is each step in visual form!